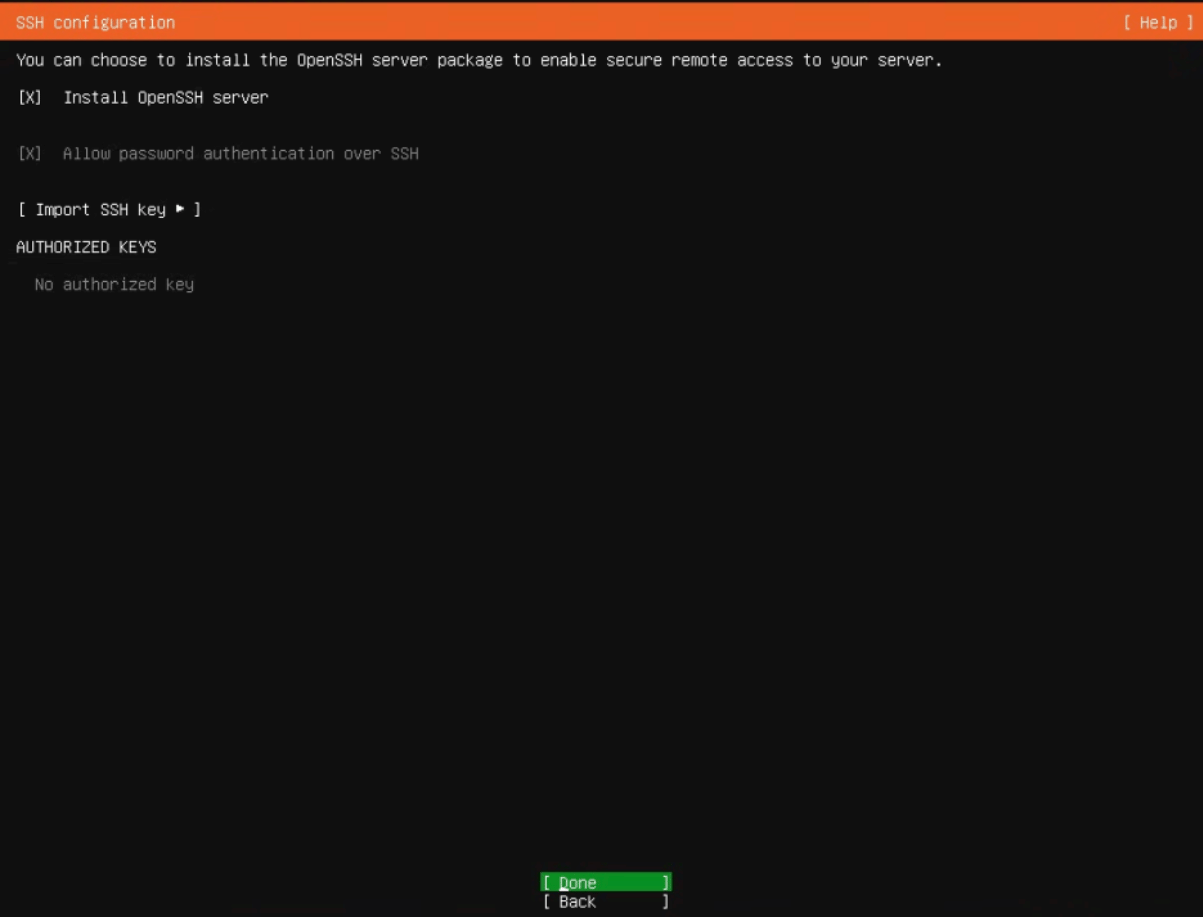
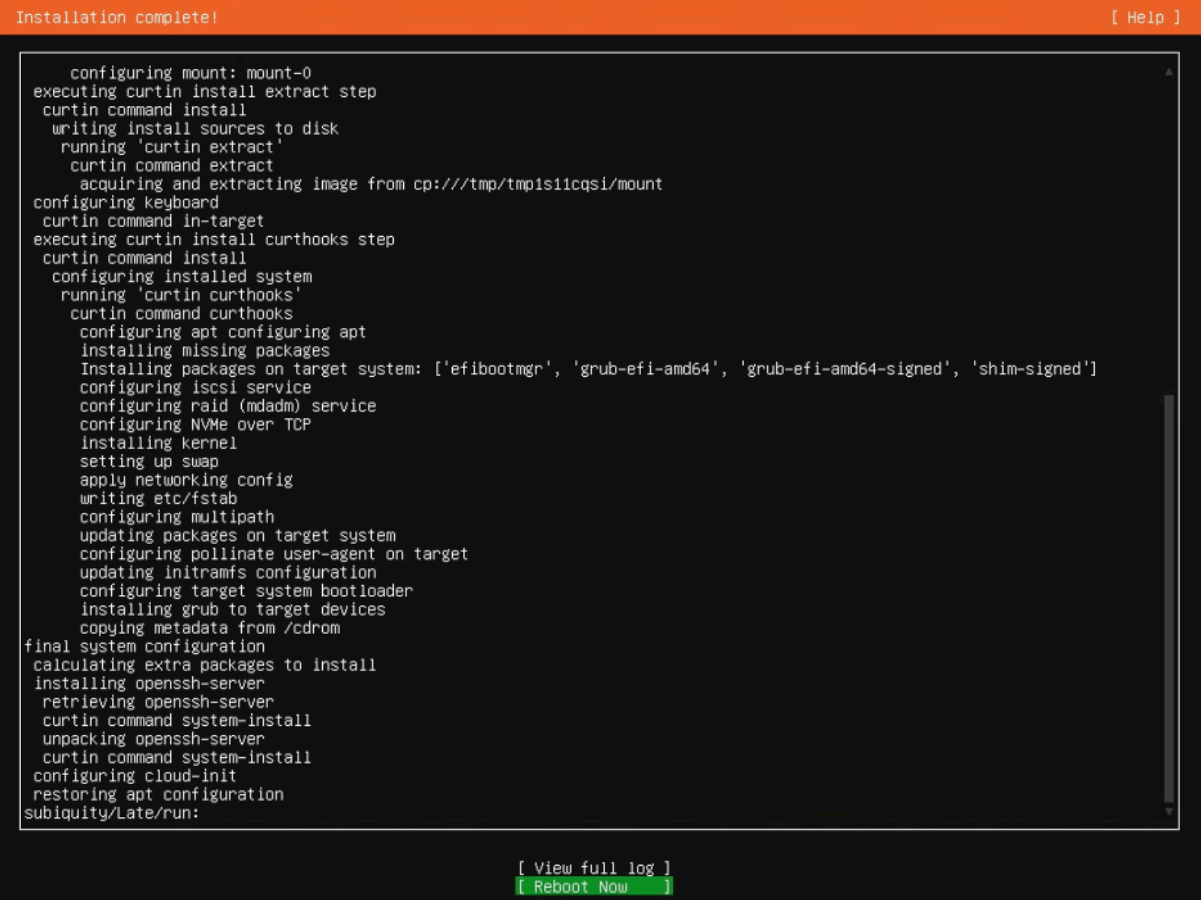
Ubuntu Server 24.04 LTS Installation Guide
This guide describes how to install Ubuntu Server 24.04 LTS on a server that will run OpenXDR KVM Installer.This guide is based on the Ubuntu Server 24.04 LTS series. For a new installation, use the latest 24.04 LTS point release provided by Canonical. As of September 23, 2026, the latest installation media is 24.04.5 LTS. The screenshots below were captured on a 24.04.3 environment, so some wording may differ on newer point releases.
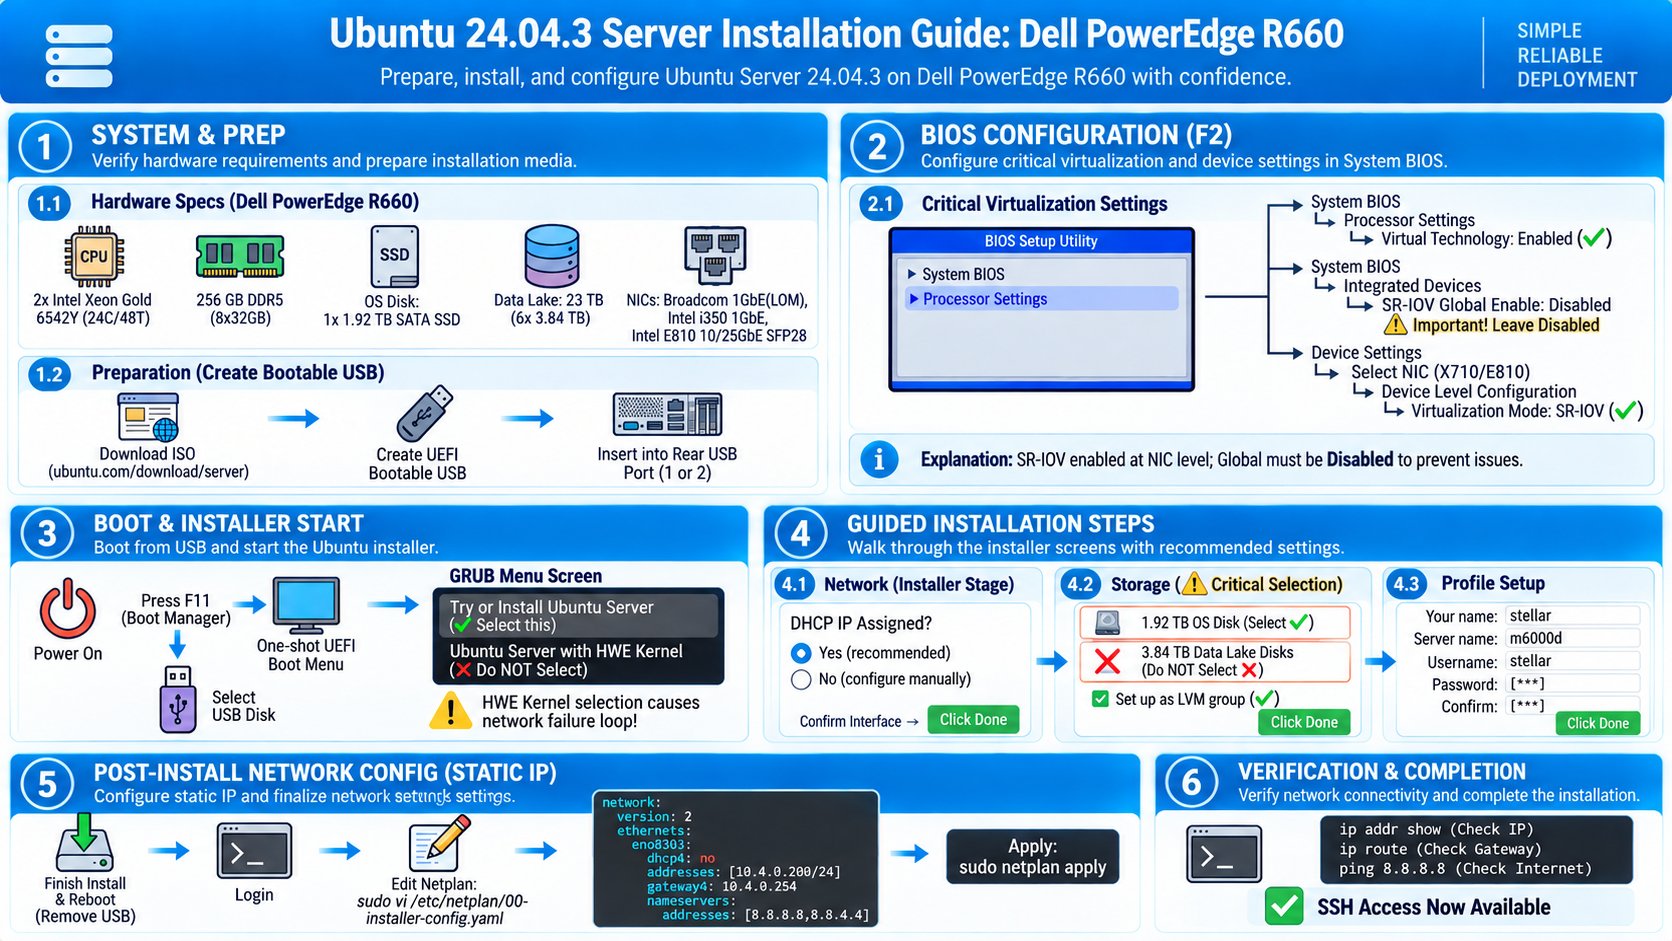
1. Example Server Hardware
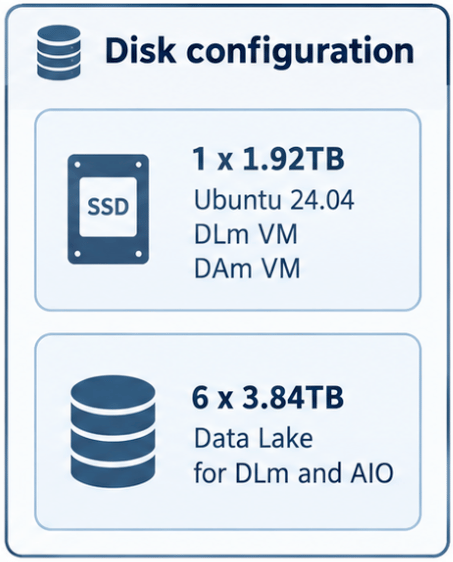
Example Disk Layout
- 1 × 1.92 TB
- Ubuntu 24.04
- DLm VM
- DAm VM
- 6 × 3.84 TB
- Data Lake
2. BIOS Configuration (SR-IOV & Virtualization)
Entering the BIOS
- Power on the server.
- Press F2 to enter the BIOS Setup Utility.
Required BIOS Settings
① CPU Virtualization
Path:- typical default: Enabled
- verify that it remains Enabled
② IOMMU / Direct I/O
For deployments that use SR-IOV or PCI Passthrough, enable:- Intel platforms: VT-d / IOMMU
- AMD platforms: AMD-Vi / IOMMU
③ SR-IOV (when using SR-IOV for a DP cluster)
On Dell servers with Intel X710/E810-family NICs, verify both the server BIOS Global/System SR-IOV setting and the NIC-level SR-IOV setting. A common Dell/Intel configuration flow is: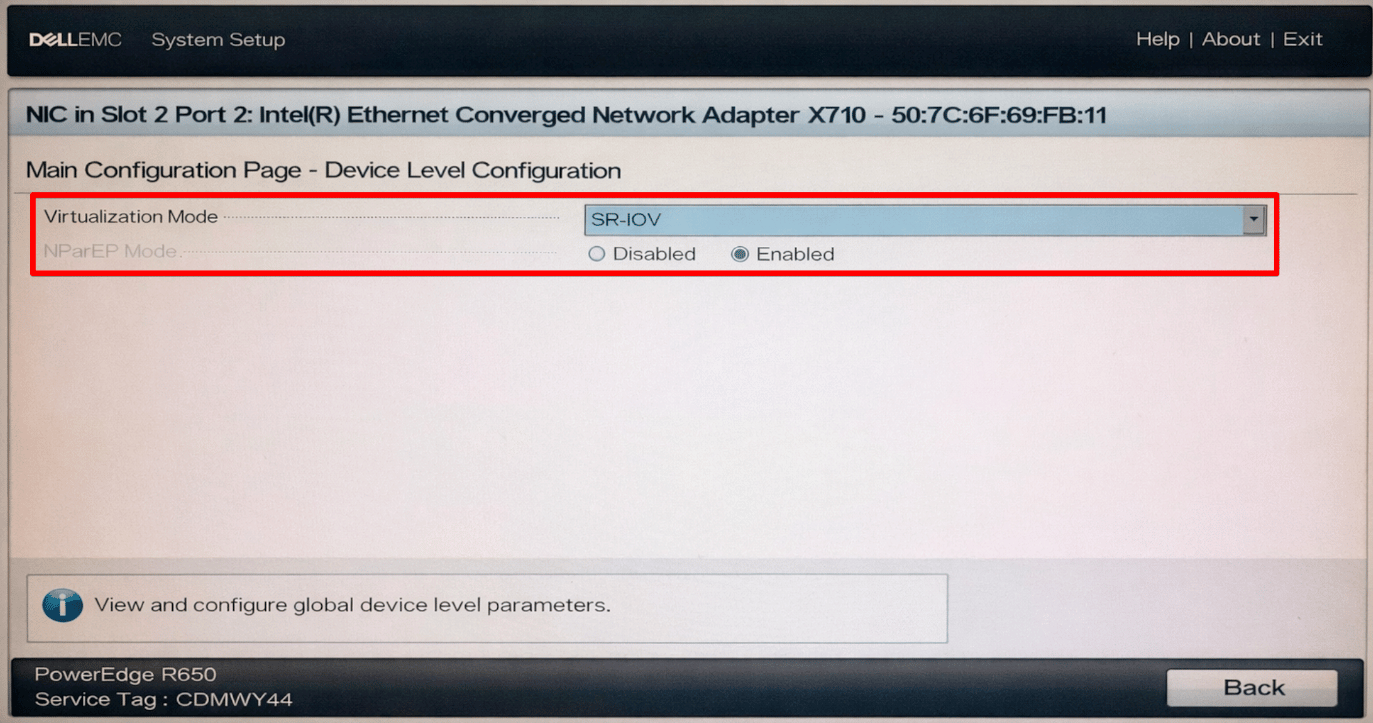
3. Prepare Ubuntu Server 24.04 LTS Installation Media
- Download the ISO:
- Create a UEFI-bootable USB device.
- Connect the USB device to a rear USB port (USB 1 or 2 recommended).
4. Boot the Installer
- Power on the server.
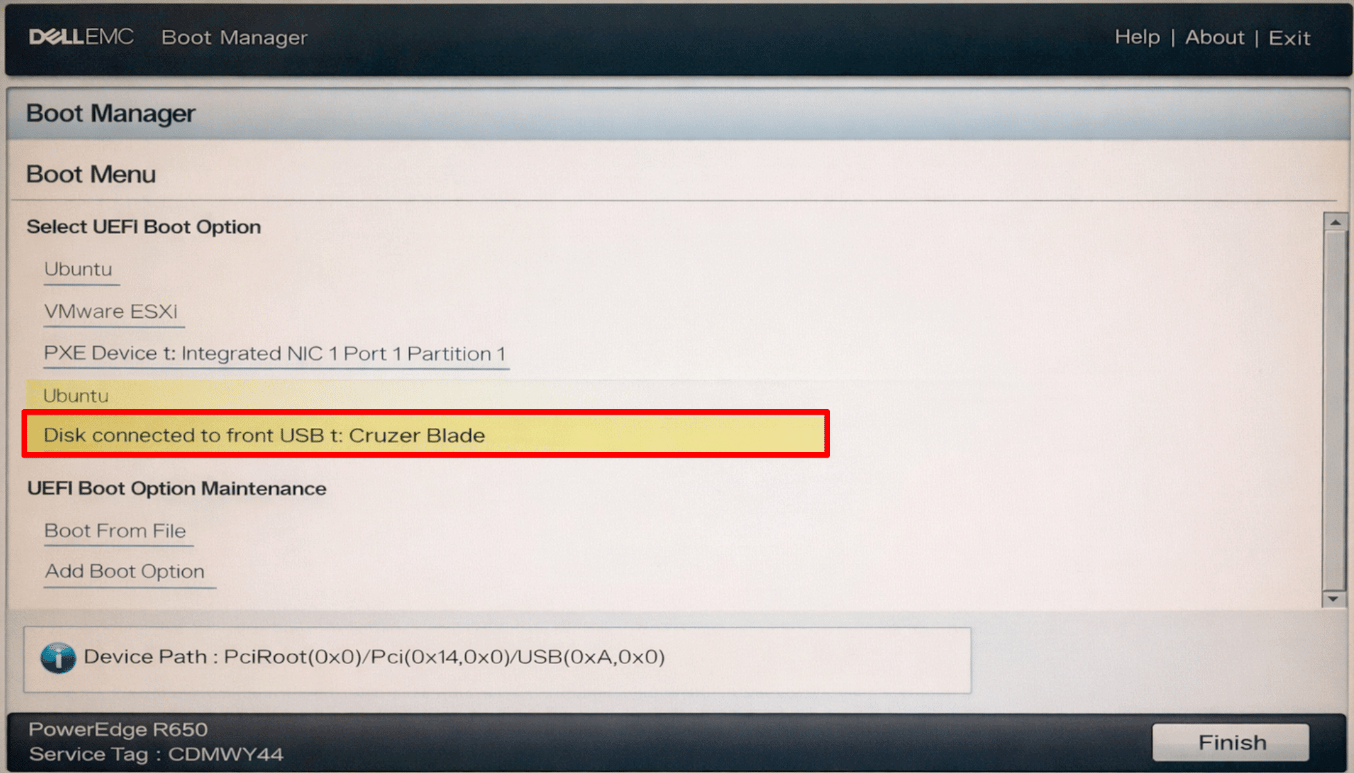
- Press F11 → Boot Manager.
- Select:
5. Choose the Ubuntu Installation Entry
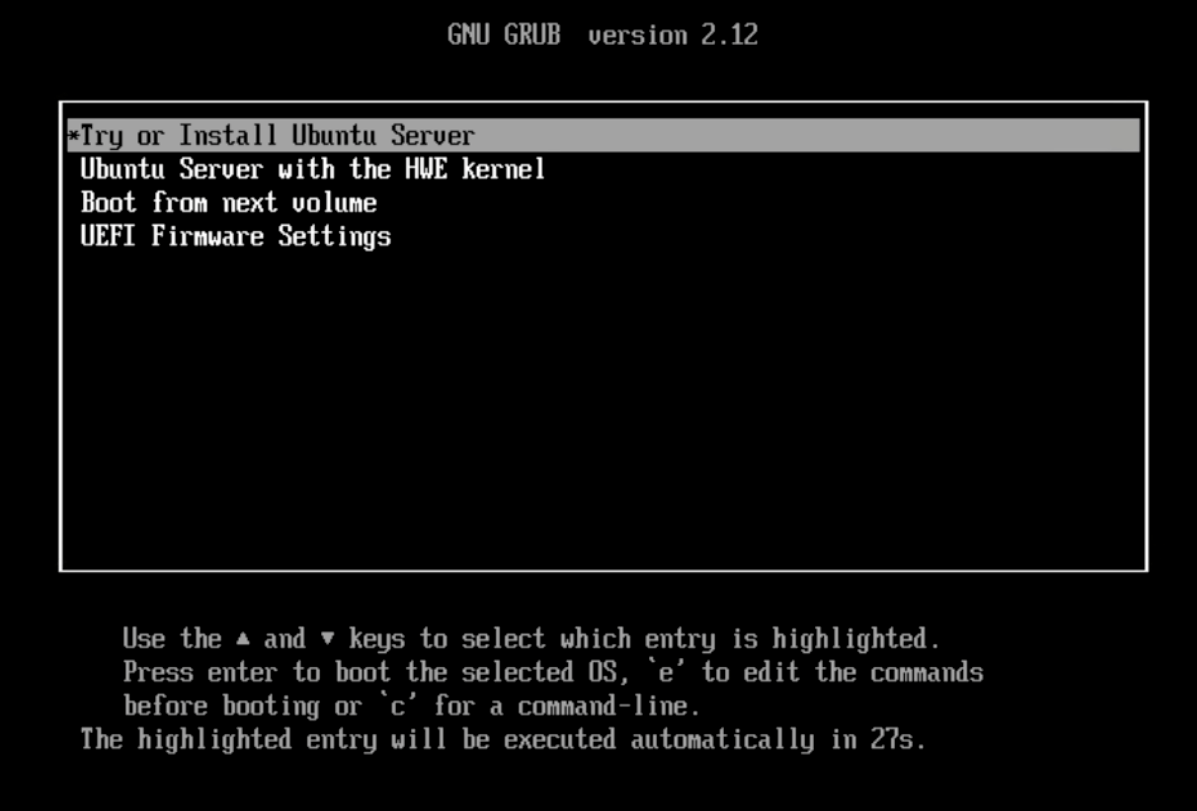
When the GRUB menu appears, use the following option for the standard flow in this guide.Recommended
- Try or Install Ubuntu Server (default)
If specific newer hardware requires the HWE kernel during OS installation, the HWE boot option can be used. Do not generalize a boot or live-filesystem problem seen on an older server/media combination to every Ubuntu 24.04 HWE installation. For hardware-specific problems, first verify the latest 24.04 LTS installation media and the server vendor’s support information.
6. Network Configuration During Installation
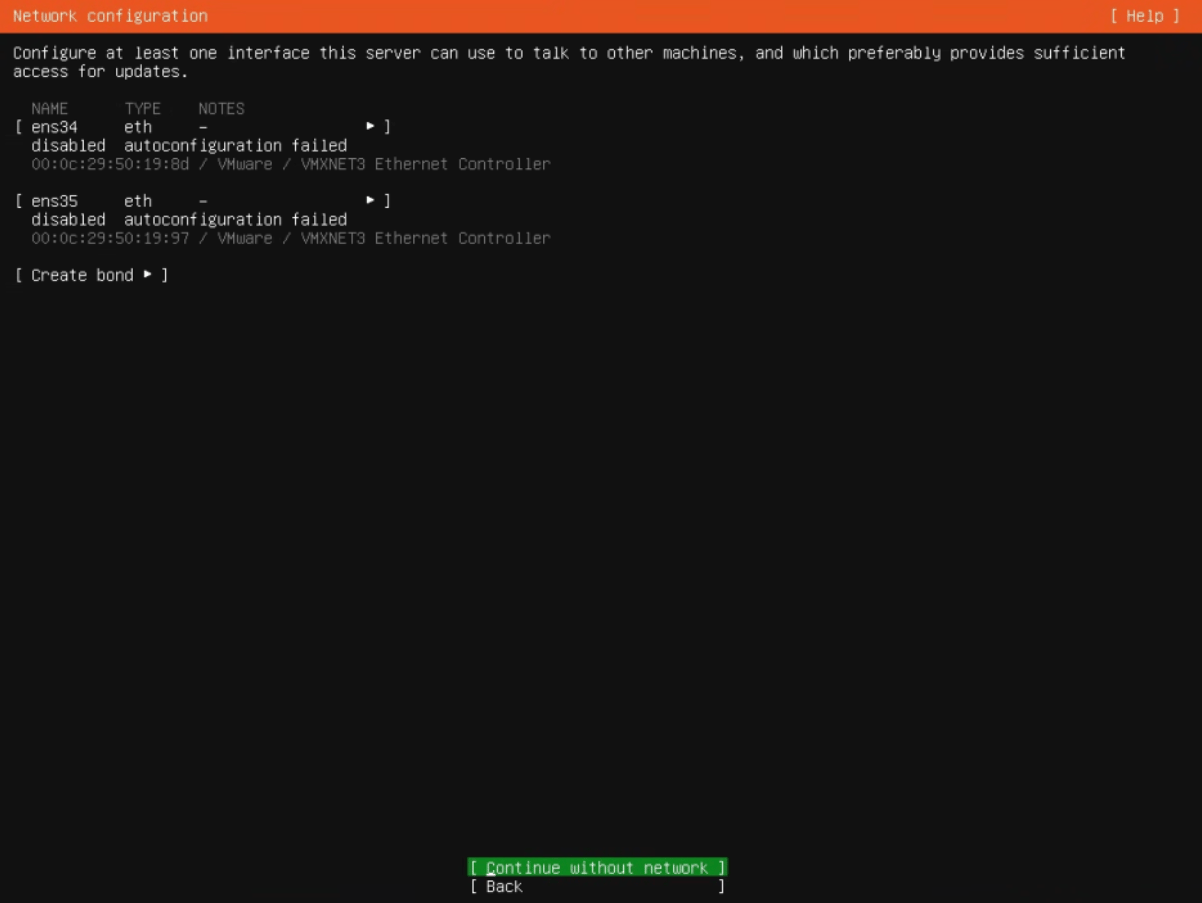
If DHCP is available and an address is assigned automatically:- verify the interface
- select Done
7. Guided Storage
Disk selection matters for
- DLm & DAm deployment
- AIO & MDS deployment
Disk selection is less significant for
- Sensor-only deployment
- the Ubuntu installation disk does not determine the Sensor data layout
Configuration
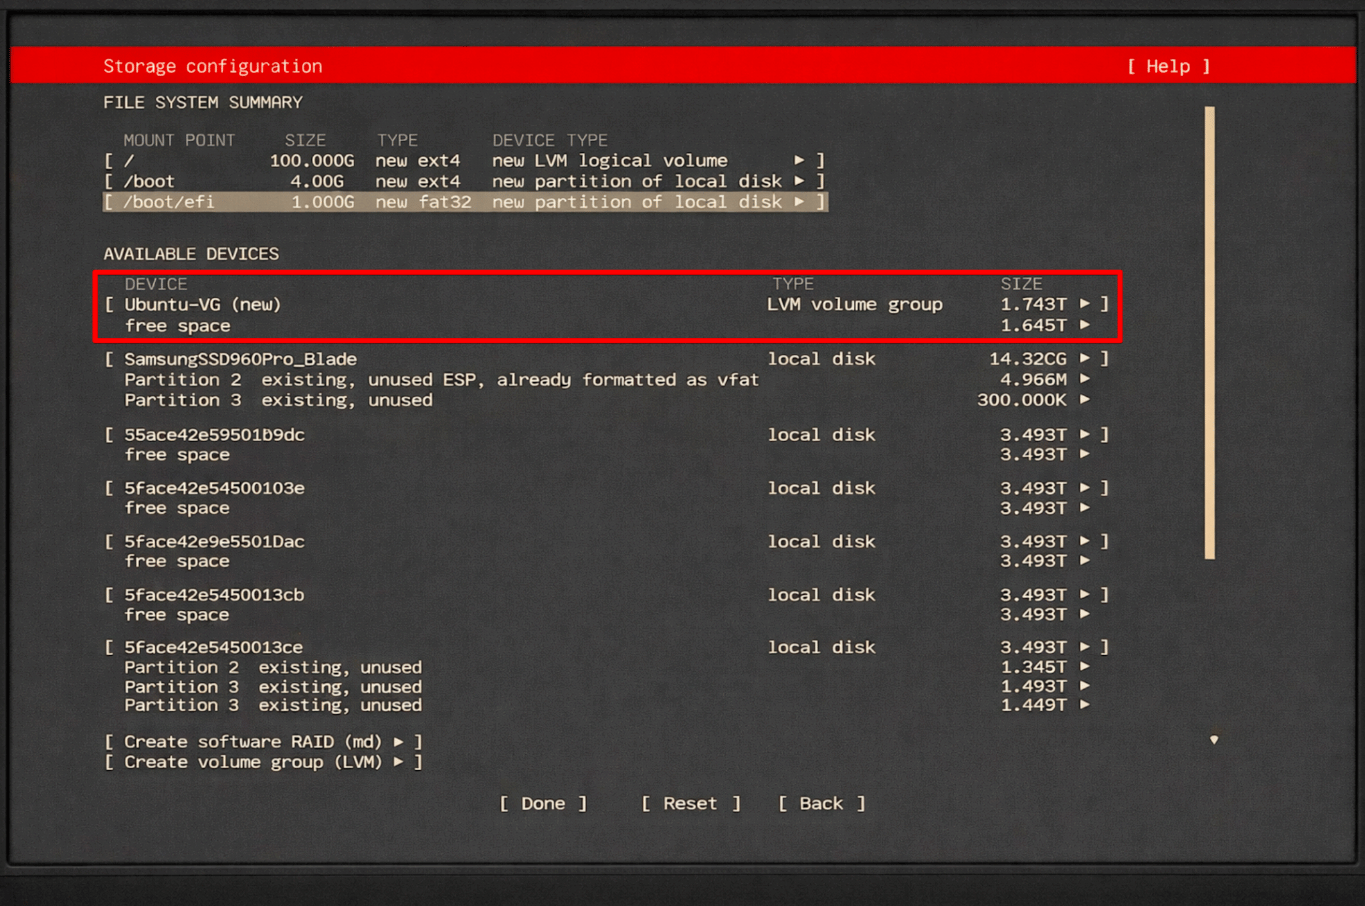
- Select Use an entire disk.
- Select only the 1.79 TB / 1.92 TB OS disk.
- Do not select Data Lake disks.
- Enable:
- Set up this disk as an LVM group
- Select Done.
- Review and confirm the changes.
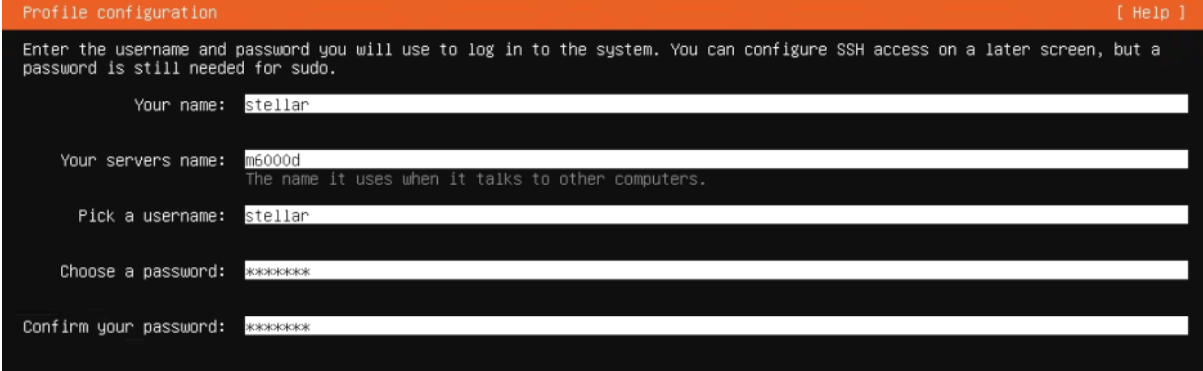
8. Profile Configuration (Example)
Select Done after entering the values.
9. Complete Installation
- continue through the remaining installation steps
- reboot when installation completes
- remove the USB device before the reboot